
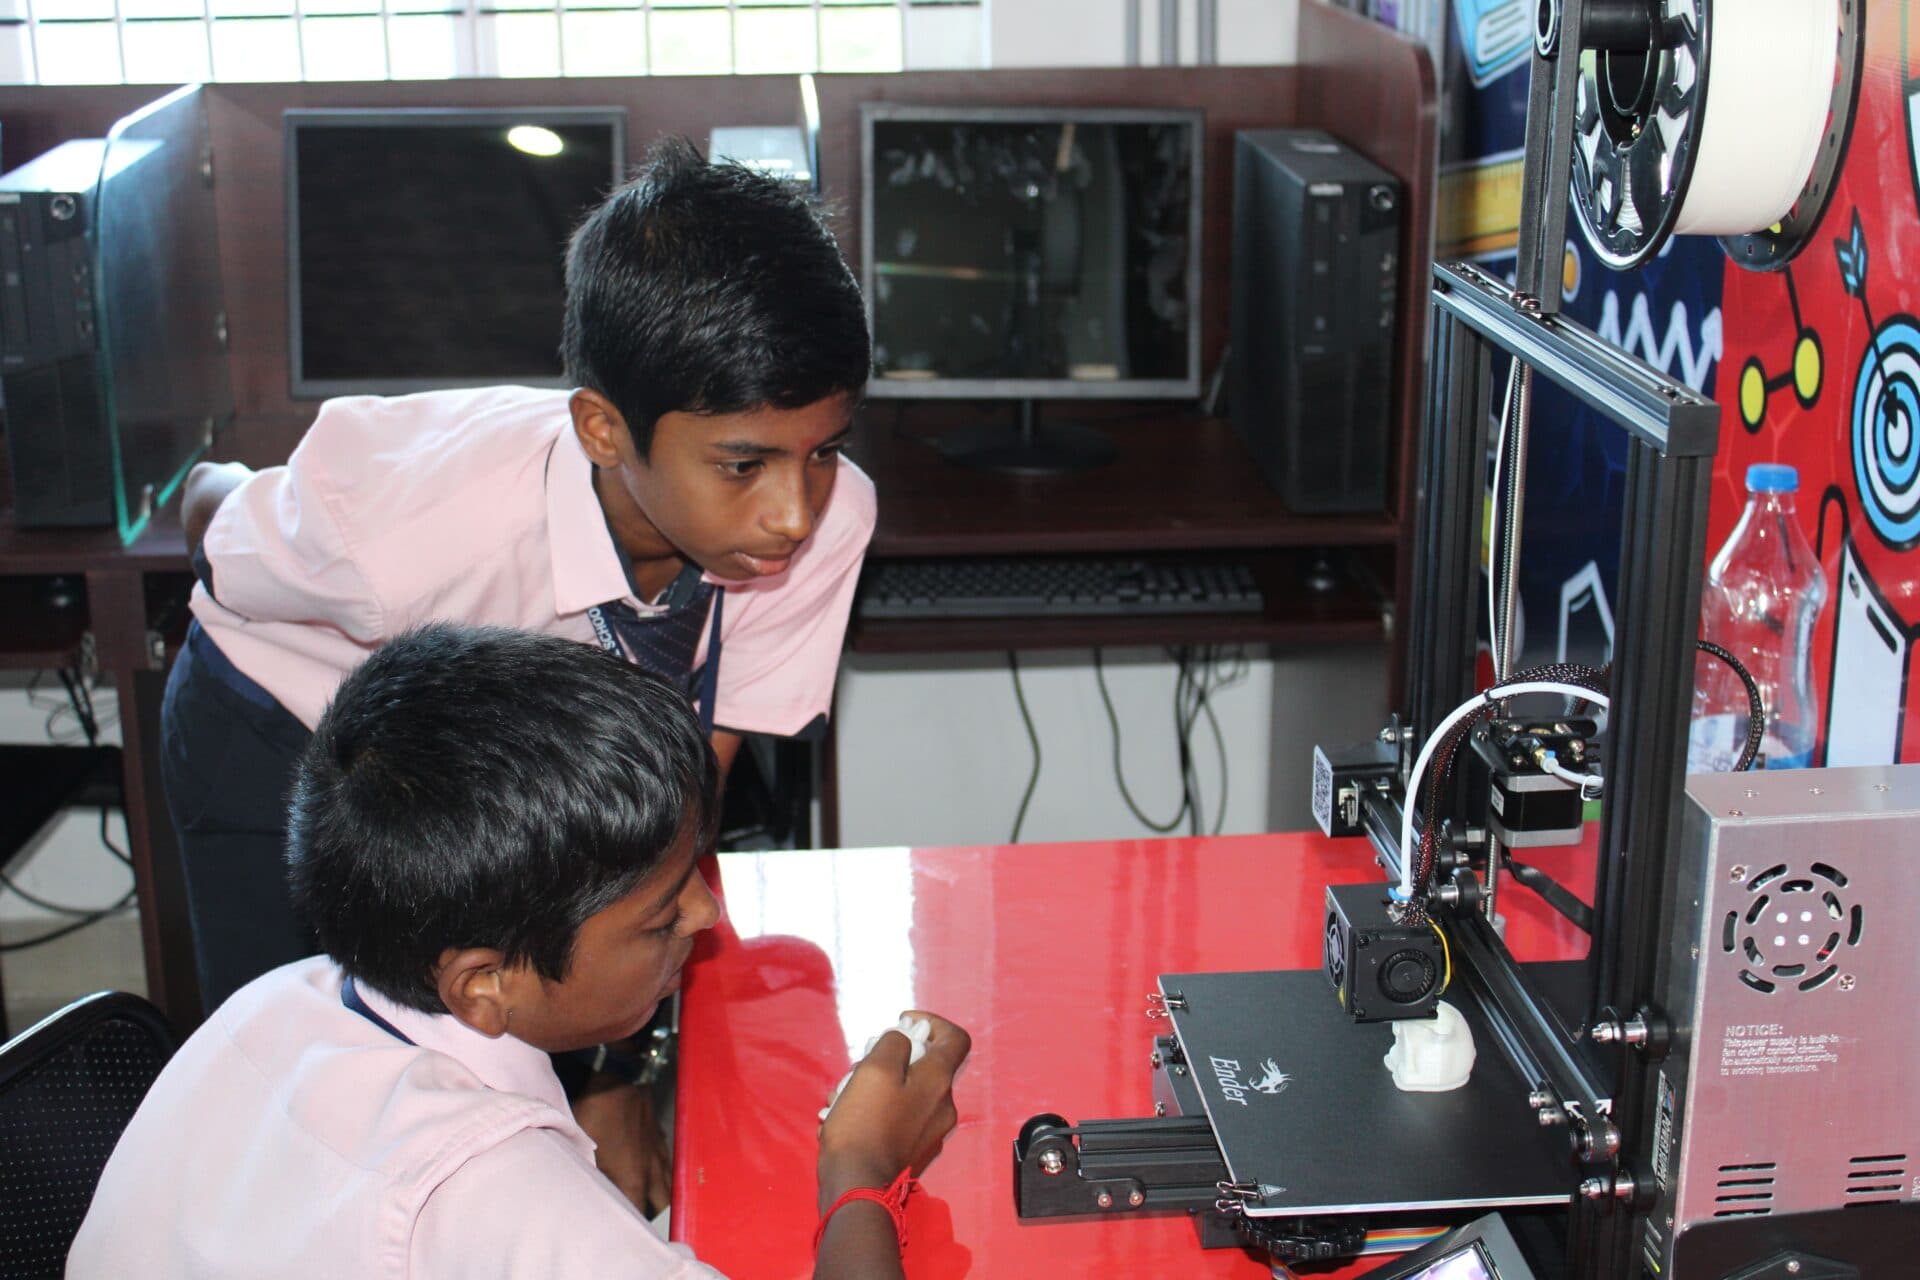
Let’s build.
Start with paper or cardboard. A 3D-printed version is an optional supervised extension; no printer or design-tool licence is included.
Use cutting mats and keep hands behind knife blades during cardboard mockups. Wear safety glasses during 3D printer bed calibration.
Hardware Bill of Materials (BOM)
Step-by-Step Assembly & Verification Guide
- 01
Measure a sample card. Specify the holder’s overall size and how the card will be inserted.
- 02
Draw top and side views with dimensions in millimetres.
- 03
Make a cardboard mock-up using age-appropriate tools and suitable supervision.
- 04
Test whether the card is readable and whether the holder tips on a level desk. Record results rather than assuming success.
- 05
Revise one dimension. Optionally model the revised design in a CAD tool and ask the lab facilitator to review fabrication constraints.
Reference Firmware Sketch (PYTHON)
# Parametric Label Holder Dimensions (in millimeters)
CARD_WIDTH_MM = 85.6   # Standard credit-card/ID size
CARD_HEIGHT_MM = 53.98
SLOT_CLEARANCE_MM = 1.2
BASE_TILT_ANGLE_DEG = 15.0

print(f"Slot dimension: {CARD_WIDTH_MM + SLOT_CLEARANCE_MM:.1f} mm")An introductory learning resource, not an accredited qualification. Check the documentation for your exact hardware and work with appropriate supervision.